During the month of September I got the honor to participate in the $100 Room Challenge started by Erin from Lemons, Lavender and Laundry. There were about twenty-five people all participating and we had lots of fun. I made over my laundry room and today I am going to share with you my between the studs storage closet. If you missed any of my weeks of the $100 Room Challenge check it out below.
WEEK 1 / WEEK 2 / WEEK 3 / WEEK 4
If you decided to make a between the studs storage closet one thing I highly recommend you do is check the other side of the wall for outlets before you start cutting the sheetrock. You want to make sure there isn’t any electrical running between the studs you are creating the closet in. I would love to say we did this, but we didn’t. So I am speaking from personal experience. Now the one plus side is we have LOTS of outlets in our house and we determined that taking this outlet out would be ok. So we went ahead with the storage closet.
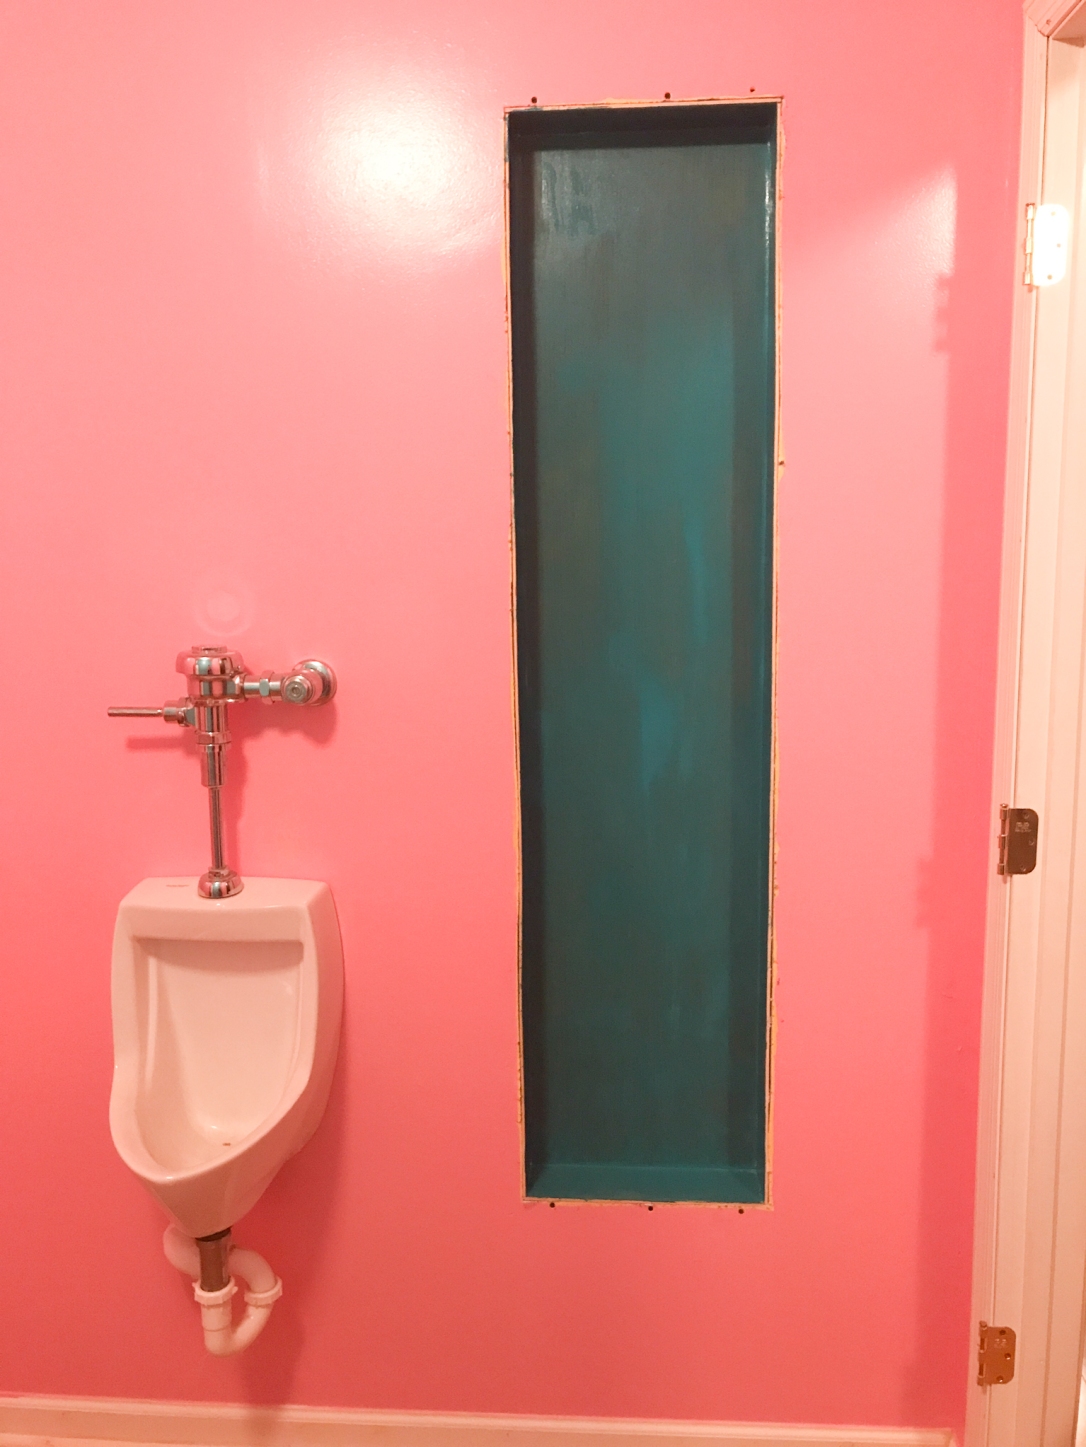
The first thing we did was cut out the sheet rock for the opening of where we wanted the storage closet. We made sure it was tall enough for our brooms and mops and of course it can only be as wide as the opening between the studs.
Once we did that we headed off to Lowe’s to pick up a piece of paneling wood. One thing I love about Lowe’s is that they will cut the wood for you which makes it so much easier when you need an 8′ piece of wood cut a certain width.
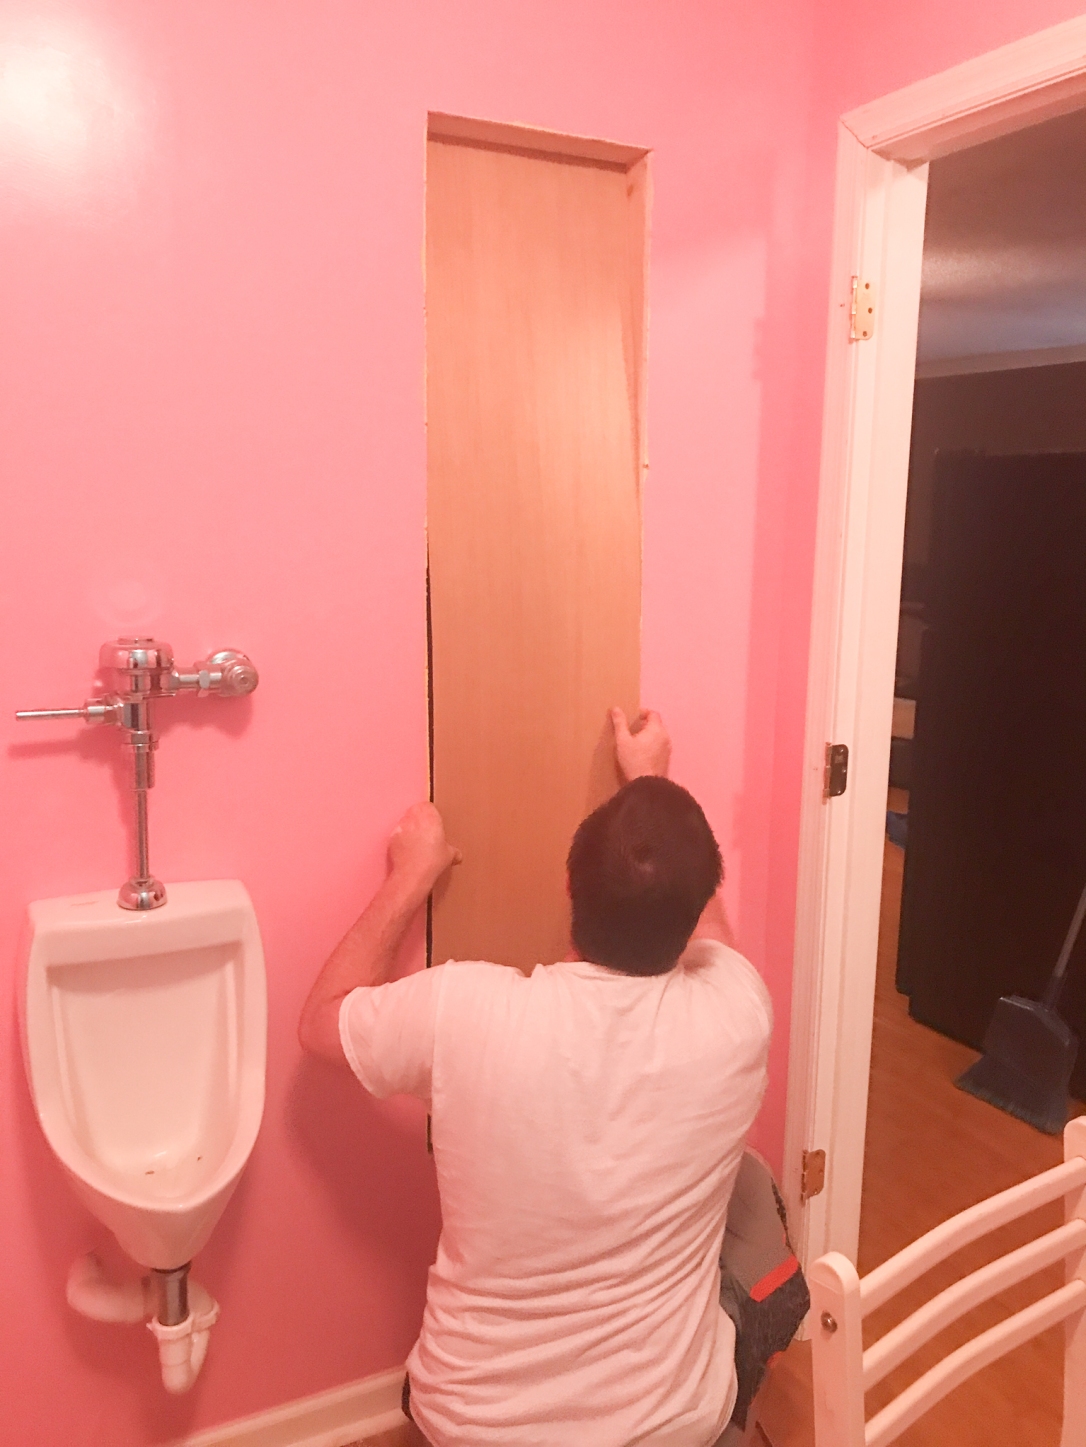
We used some construction adhesive to attach the paneling wood to the back of the closet.
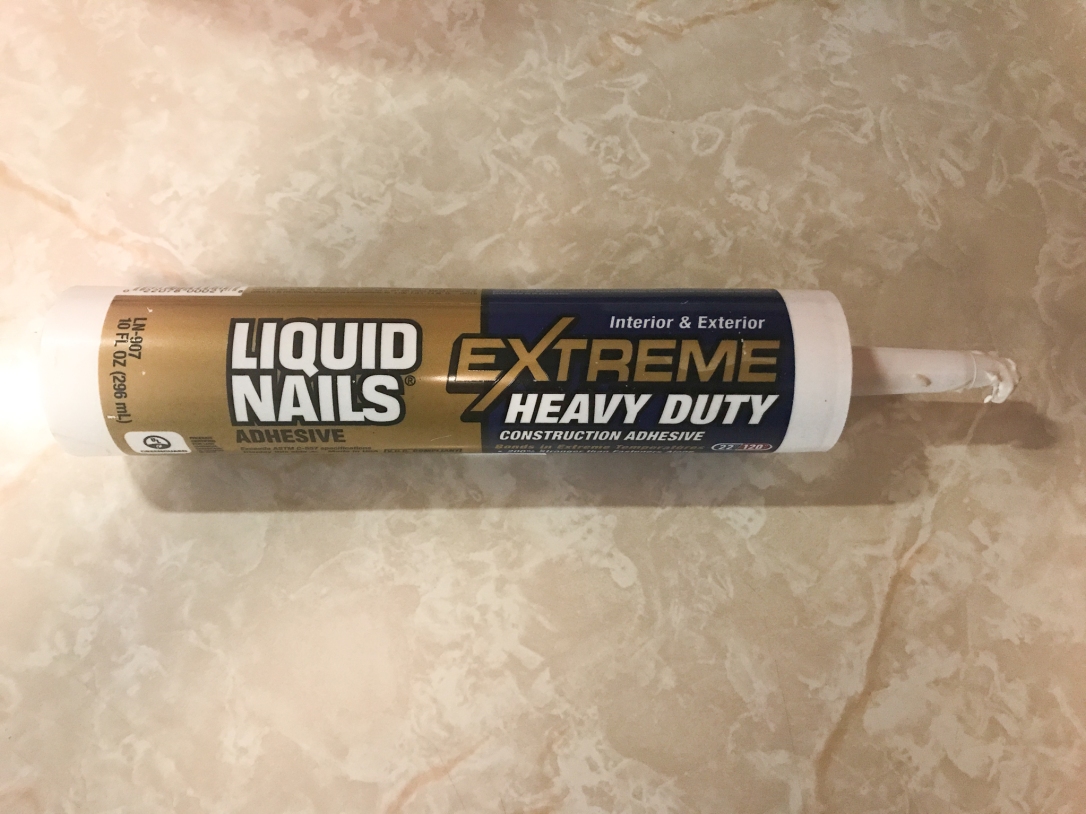
Then we used some 2×4 that we already had on hand to make the top and bottom of the closet. I held them in place while my husband screwed into them through the sheetrock. Once we had all of that in place he cut some more pieces of the paneling wood to cover the 2×4 and the studs on the sides.

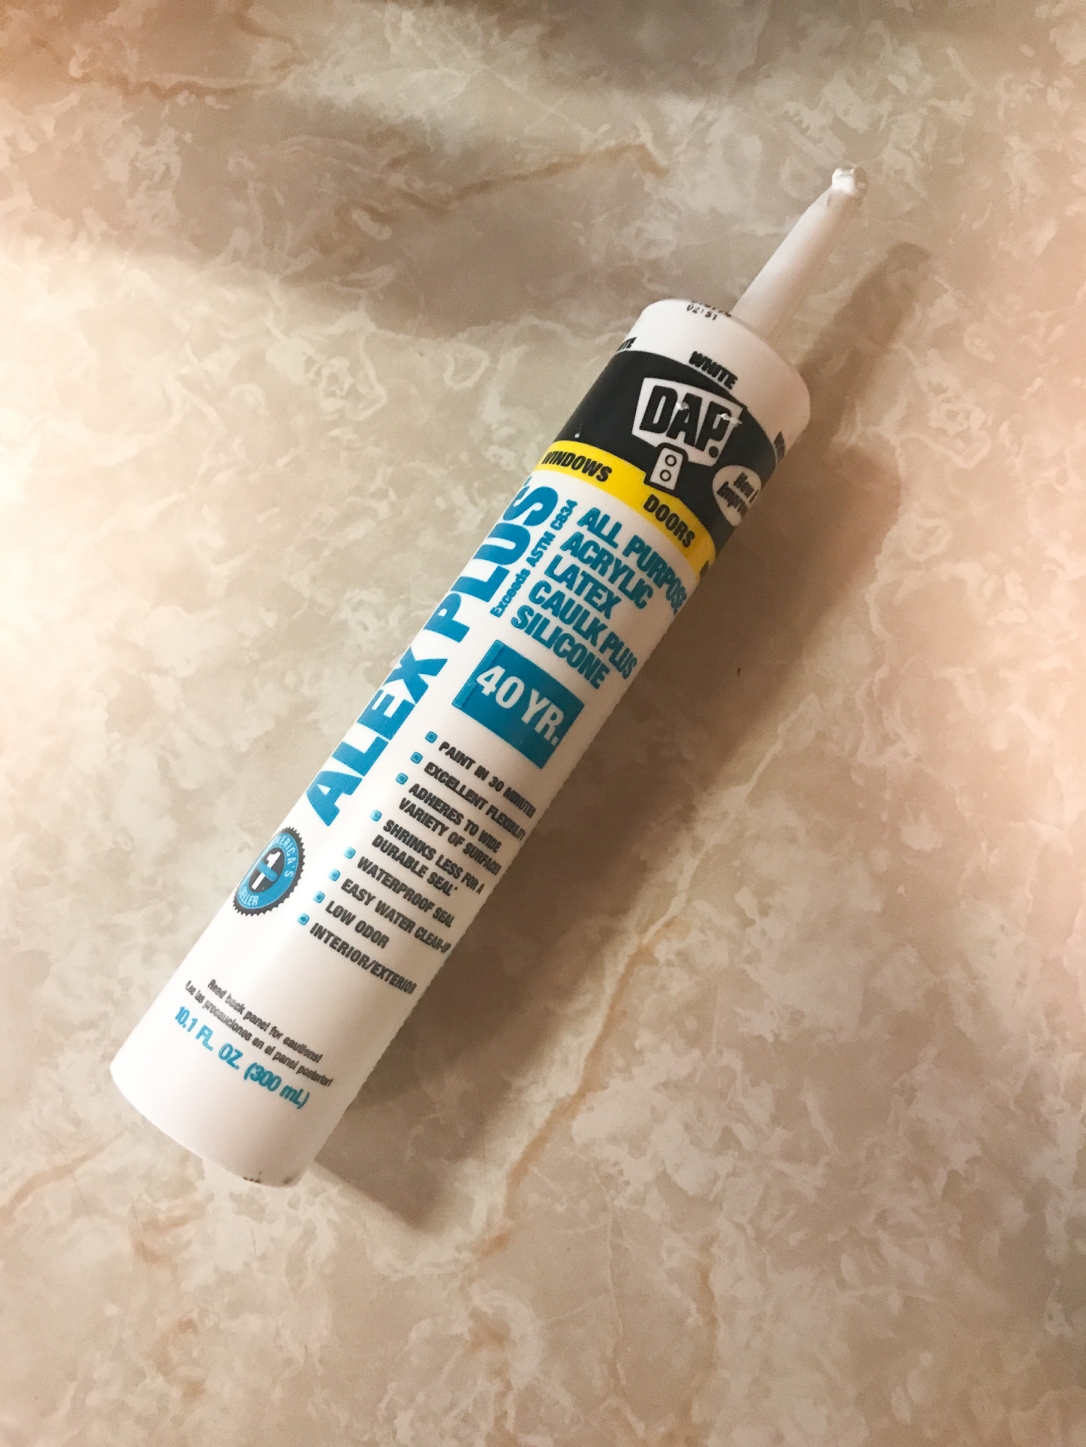
We also used construction adhesive to attach them and then used some small tack nails to secure them. Then we used some paintable caulk to seal where all the wood meets.
Once that was dry I used some darker turquoise paint that I had on hand to pain the inside of the storage closet.
Finally my husband cut the trim to go around the outside to frame the closet in. I painted the trim before we attached it to the wall with trim nails and then we touch up painted it afterwards.

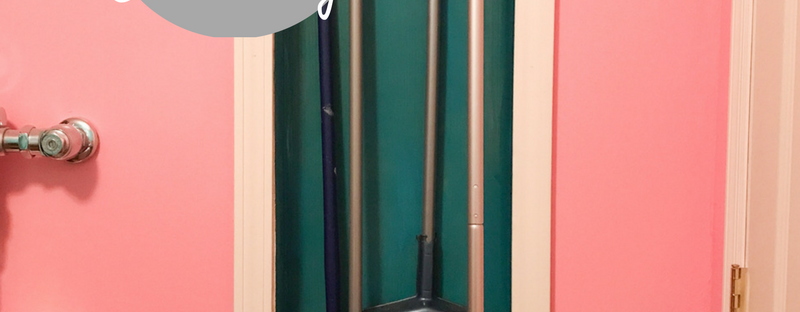
To finish off the closet I picked up some hooks from Wal-Mart. These hooks mount with a foam type tape that is already attached to the back of them making it super easy to peel off the backing and stick them in the closet.

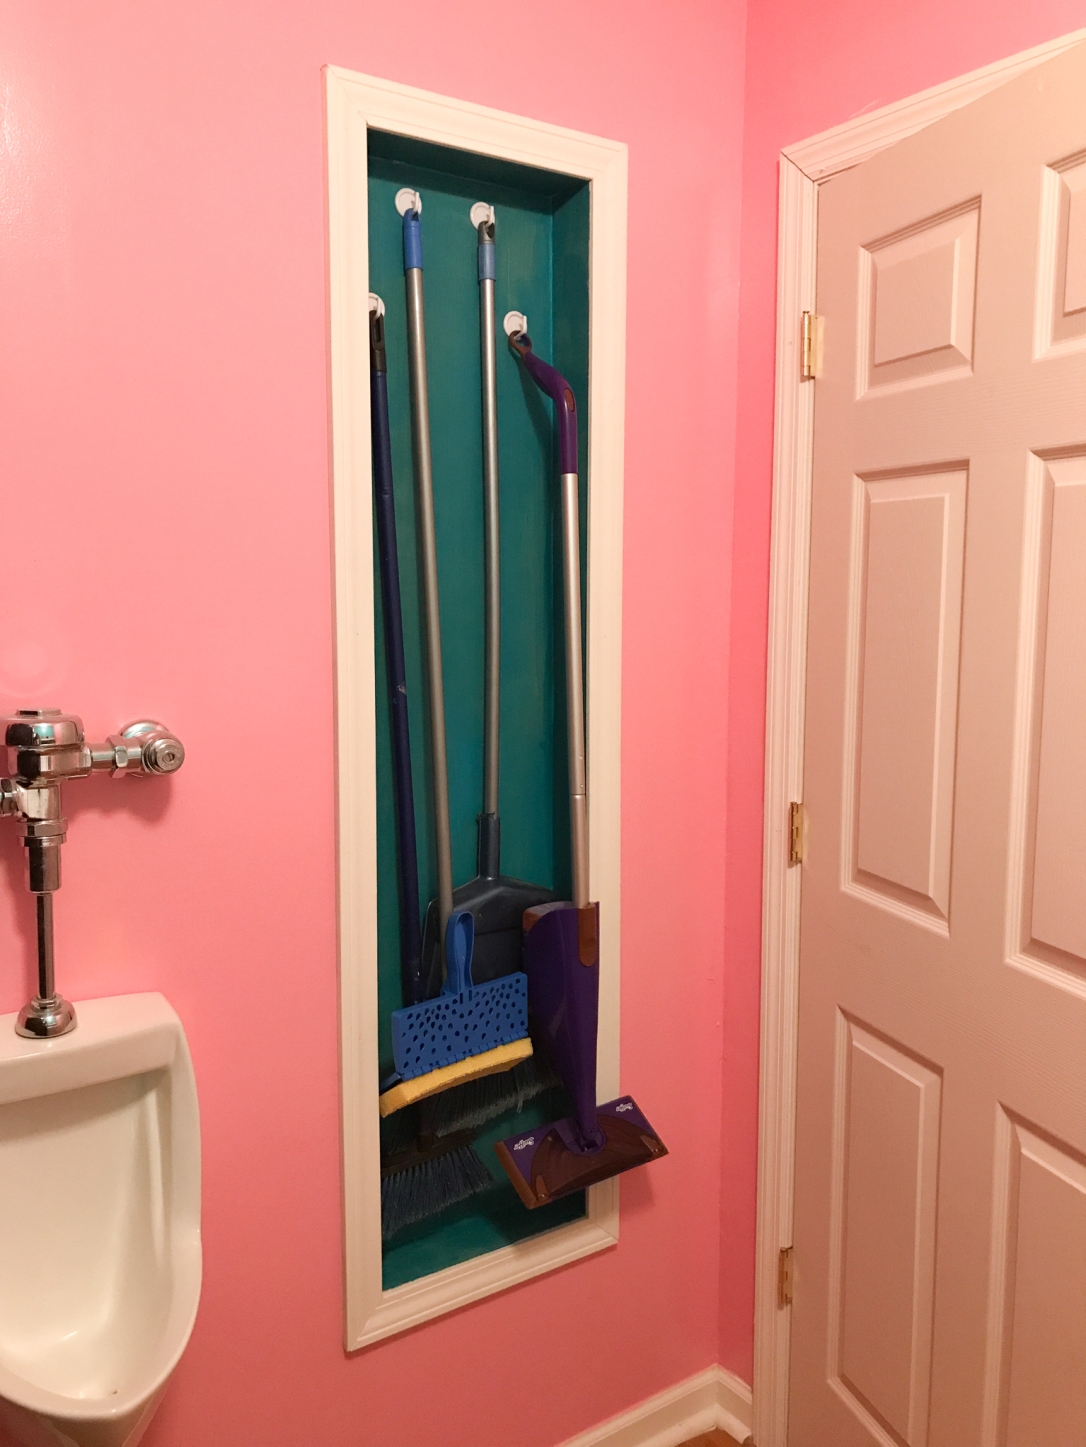
I absolutely love how my closet turned out!! If you have any questions about how to make your own feel free to comment below and I would be more than glad to help you.

I really like how you created the hanging area to keep all the mops and brooms out of the way. #HomeMattersParty
LikeLike
Thank you Nicole!! I do too!!
LikeLike
What a great use of space! We did something similar in our old house. #HomeMattersParty
LikeLiked by 1 person
Between the stud storage is a great idea. Thanks for sharing at the #HomeMattersParty 🙂
~Lorelai
Life With Lorelai
LikeLike
Very creative way to keep the mops out of the way but ready to use. Can’t wait to see more. #HomeMattersParty
LikeLiked by 1 person
Thanks Donna!! I did a full room tour, make sure you check it out.
LikeLike